
Last updated October 9, 2026
Whole-system duct and dryer vent check with before-and-after photos - you see exactly what came out of your vents
That "$99 whole-house special" is a bait ad - the real number appears once they are in your hallway, or the "clean" is a shop-vac at the register. We photograph the inside of your ducts before and after instead.
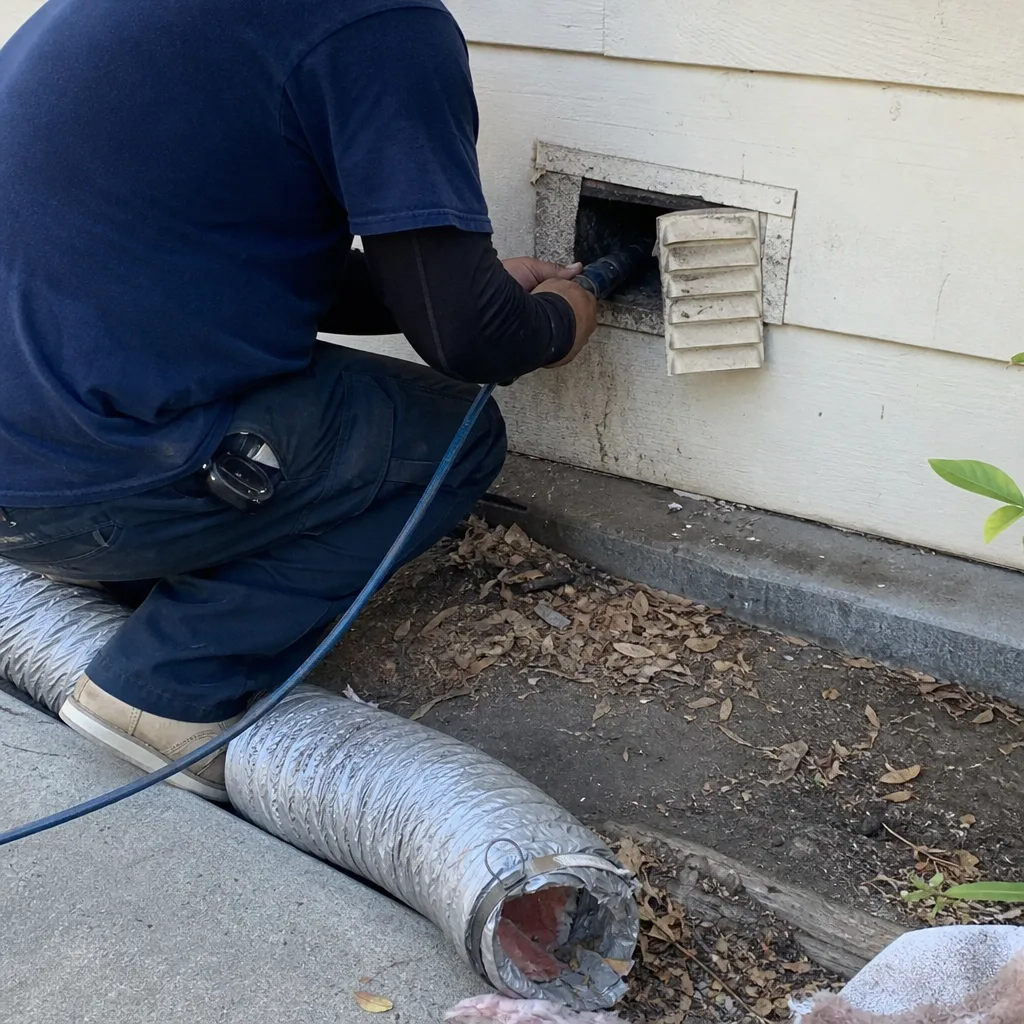 Before
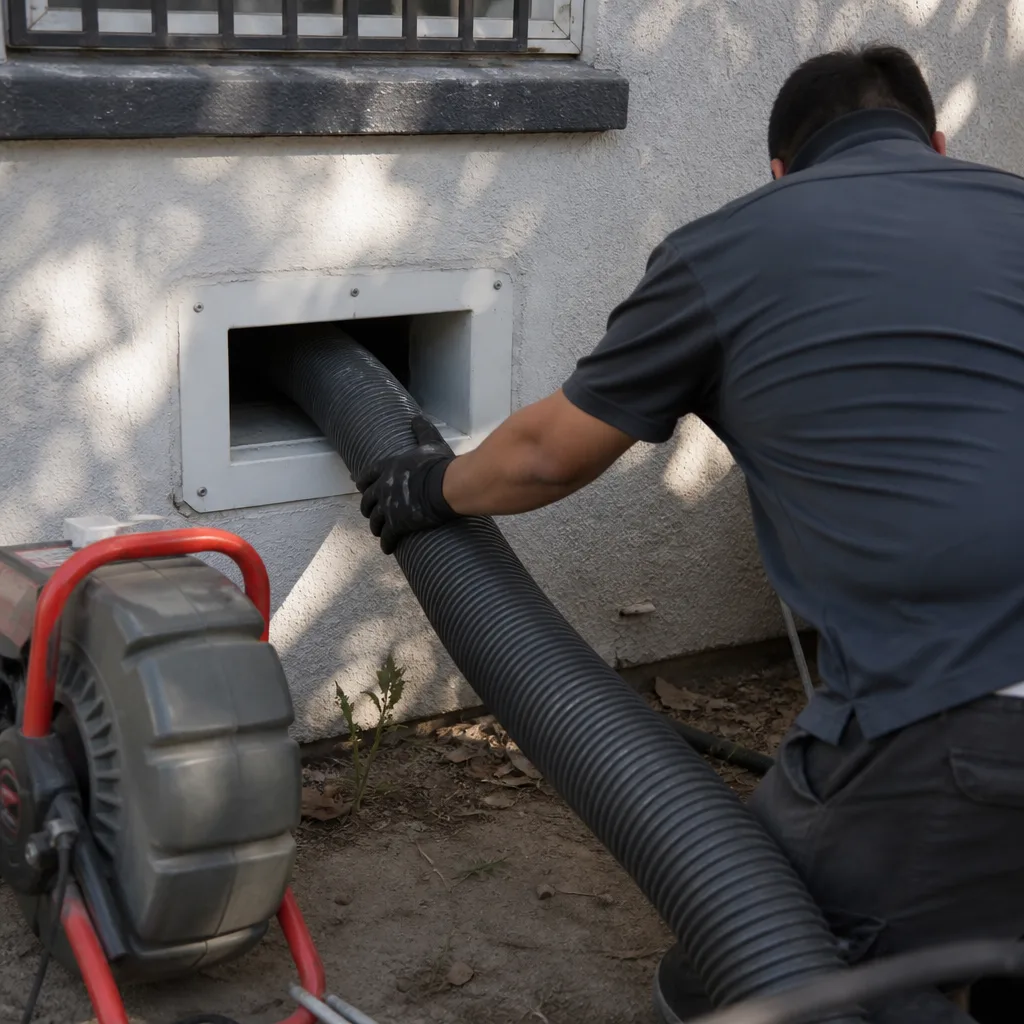 After
After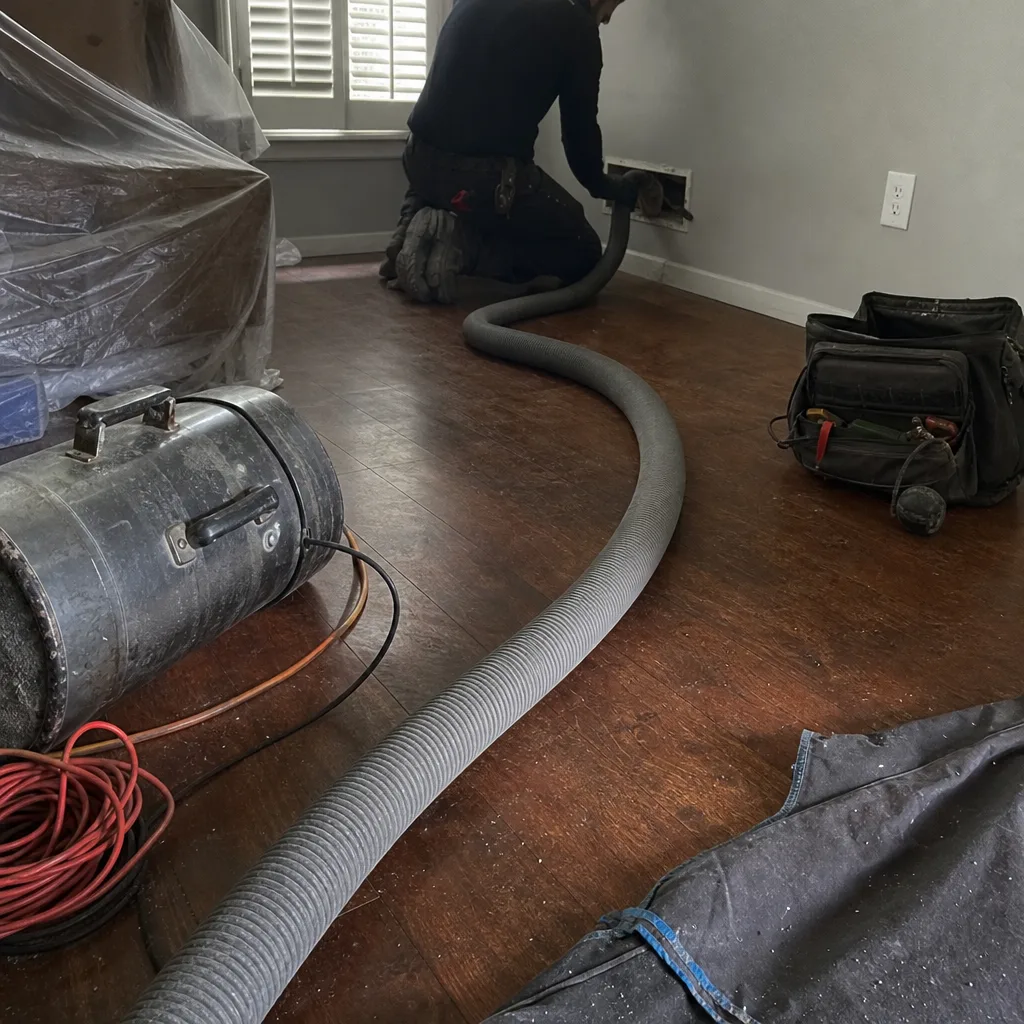 Before
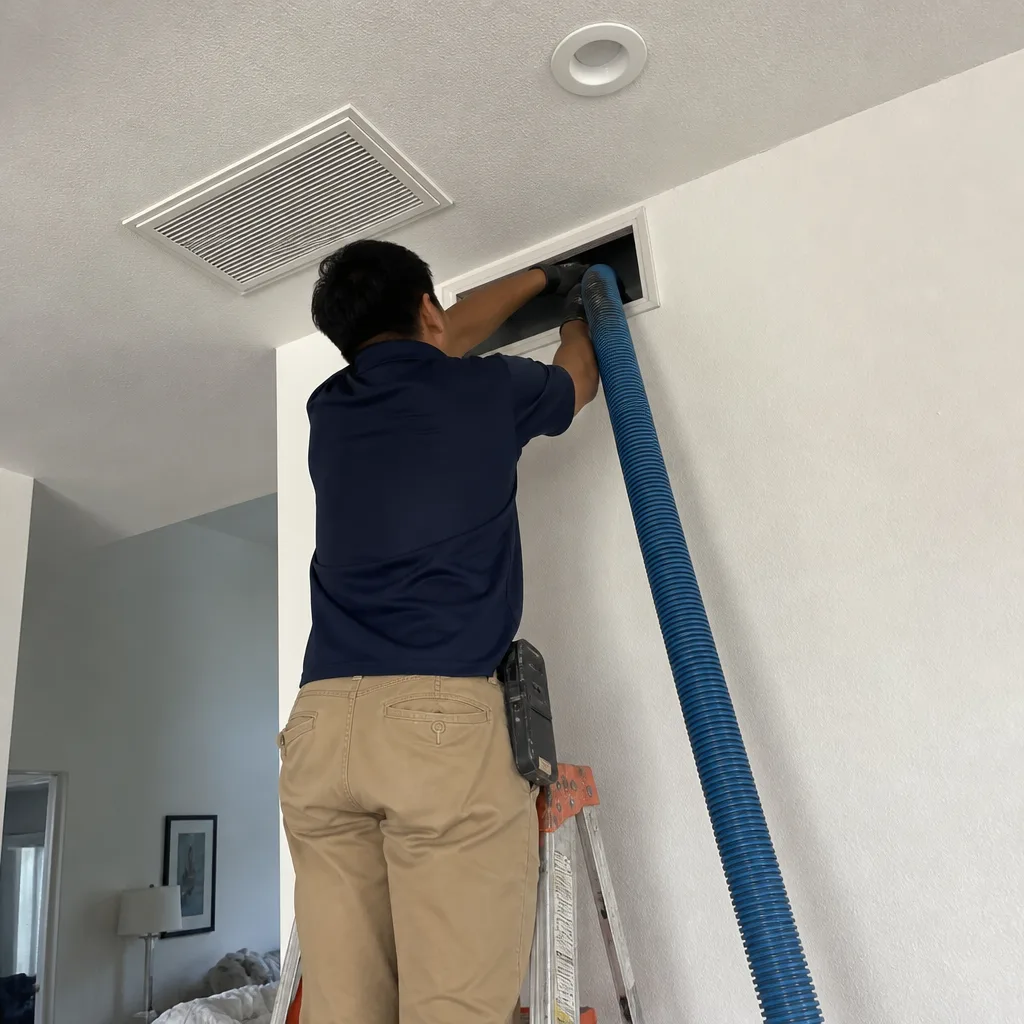 After
After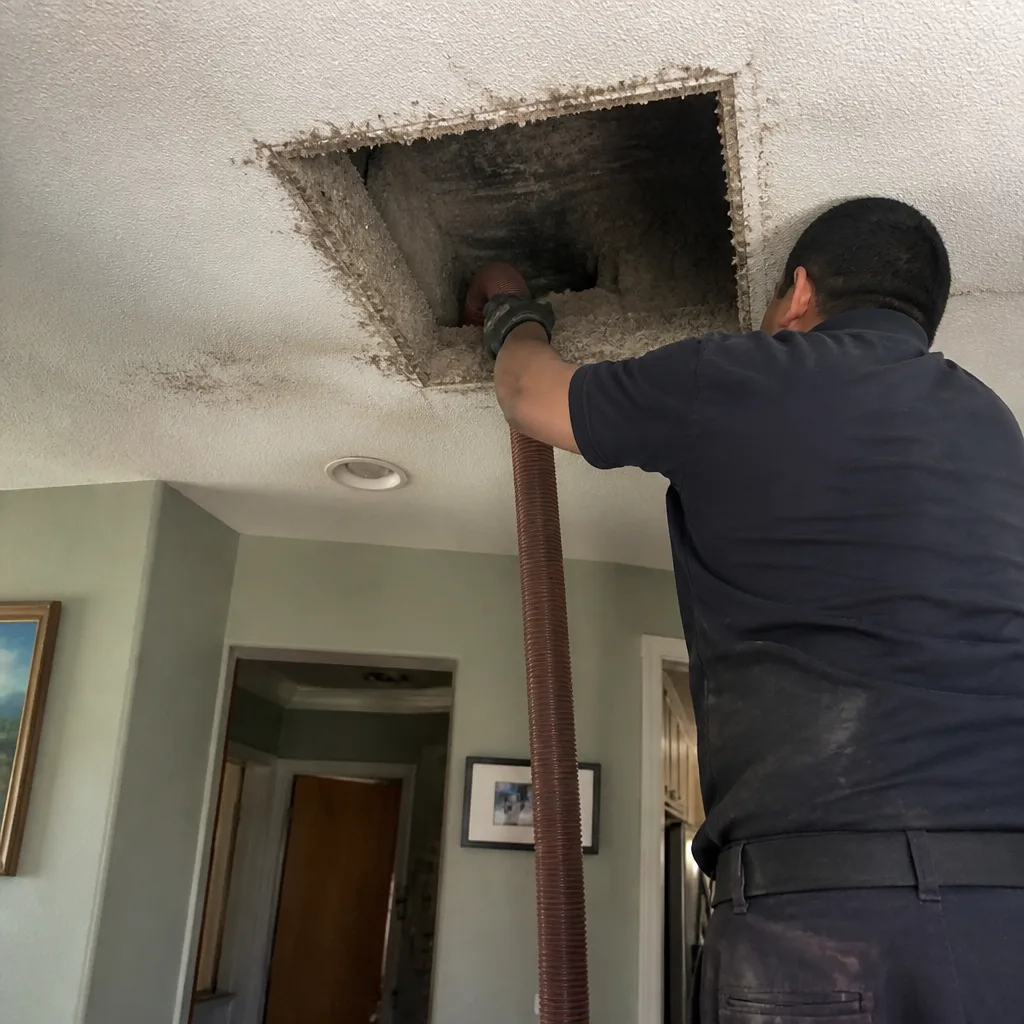 Before
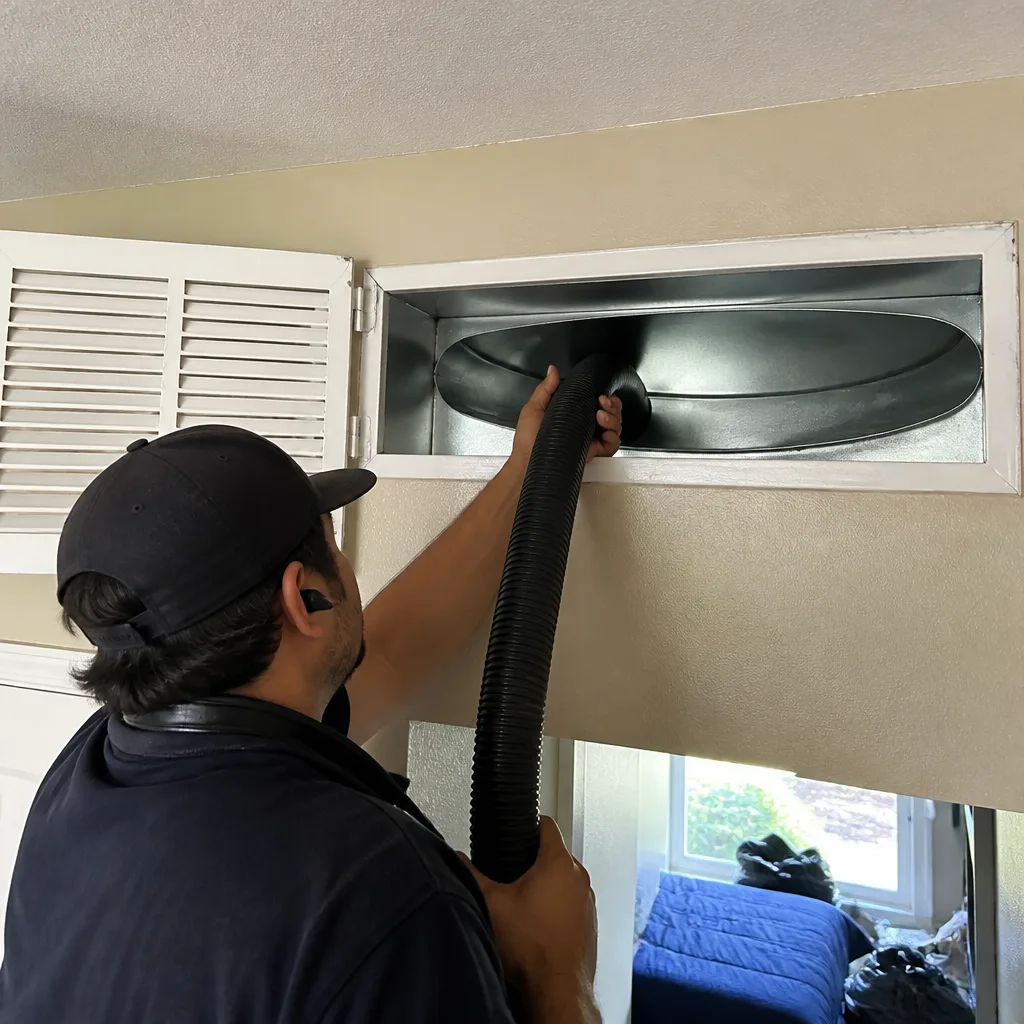 After
AfterDIY vs Professional Dryer Vent Cleaning: What’s Safe to Do Yourself
A $30 dryer vent brush kit from Amazon can push a partial lint clog deeper into a 90-degree elbow, creating a denser blockage than you started with. The tool isn’t the problem – the geometry is. Most Dryer Vent Cleaning Maintenance Checklist for Los Angeles Homeowners and other advice online ignores the single most important variable: how your vent is actually routed through your home. In Los Angeles, where laundry rooms are often in converted garages, hall closets, or interior spaces far from exterior walls, vent runs tend to be longer and more convoluted than homeowners realize. That’s the real dividing line between a safe DIY job and one that needs professional equipment. This guide will show you exactly which vent configurations you can clean yourself, which ones you should never touch with a hardware store brush kit, and how to tell the difference before you spend a Saturday afternoon learning the hard way.
Quick Answer
DIY dryer vent cleaning is safe only when your vent run is under 8 feet, has zero elbows, and terminates at an accessible exterior wall cap. Anything longer, any bend sharper than a gentle curve, any rooftop exit, or any flex duct connecting to rigid sections means the job needs Dryer Vent Cleaning services with professional equipment – specifically a rotary brush system with simultaneous vacuum extraction, which agitates and removes lint at the same time instead of just pushing it deeper into the vent.
Table of Contents
- Why Vent Geometry Matters More Than Your Brush
- Vent Configurations That Are Safe for DIY
- Configurations That Require Professional Equipment
- What Professional Equipment Actually Does Differently
- Step-by-Step: Cleaning a Short Straight Vent Yourself
- The Honest Cost Comparison: DIY vs Professional
- Los Angeles Factors: Why Vent Runs Here Are Different
- Common Mistakes to Avoid
- When to Call a Professional
- Frequently Asked Questions
Why Vent Geometry Matters More Than Your Brush
Dryer lint doesn’t distribute itself evenly through a vent. It accumulates where airflow changes direction, where the duct narrows, or where the run levels off after a vertical section. In a straight 6-foot vent, lint mostly collects near the exterior cap where it meets the outside air and cools. A stiff brush on a flexible rod can handle that. But introduce a single 90-degree elbow – the kind you’ll find in nearly every Los Angeles laundry closet where the dryer backs up to an interior wall – and the physics changes completely. The brush rod flexes around the corner, but the bristles lose contact with the duct wall at the exact point where lint packs tightest. The result: you push the clog into the bend, compress it, and leave a blockage denser than the original.
We see this pattern regularly across Los Angeles homes. A homeowner spends an afternoon with a drill-attached brush kit from a local hardware store, runs it through what looks like a full cleaning, and then calls us a month later because the dryer still takes two cycles to dry a load. When we run our camera through the vent, the elbow is packed solid. The brush skimmed the straight sections and compacted everything into the corner. It’s not that the homeowner did something wrong – it’s that the tool was never designed for that geometry.
Vent Configurations That Are Safe for DIY
Let’s be precise about what “safe to DIY” actually means. A vent you can clean yourself meets all four of these conditions:
- Under 8 feet total run length. This is measured from the dryer’s exhaust port to the exterior termination. If you can’t confirm the length, you don’t have a short run.
- Zero elbows. No 90-degree turns, no 45-degree offsets, no S-curves. The duct runs in one straight line from dryer to wall cap.
- Side-wall termination with an accessible exterior cap. The cap sits on an exterior wall you can reach from the ground or a short stepladder. No roof access.
- Rigid metal duct throughout. No thermaflex, no flexible foil accordion sections, no plastic flex pipe. Rigid 4-inch galvanized or aluminum only.
If your vent matches all four conditions, you are in the honest minority. In Los Angeles, this configuration is most common in single-story homes where the laundry room shares a wall with the exterior – a garage-adjacent setup, a converted porch laundry, or a 1950s bungalow with the washer and dryer against the back wall of the house. If that sounds like your situation, the DIY steps later in this guide will work for you. If you’re missing even one condition, skip to the professional section.
Configurations That Require Professional Equipment
Now for the other side of the ledger. These are the vent configurations where a DIY attempt will either fail to clean the vent or actively make the blockage worse:
- Runs over 15 feet total length. Standard brush kits max out around 10 to 12 feet of rod extension. Longer runs need powered rotary brushes with enough torque to maintain contact through the full length.
- Rooftop terminations. If your dryer vent exits through the roof – common in two-story Los Angeles homes and many multi-unit buildings – you’re dealing with a vertical run that gravity makes harder to clean. Lint falls backward as you dislodge it. Professional equipment uses reverse-vacuum to pull debris up while brushing.
- More than one 90-degree elbow. Each additional bend is another compression point. Two elbows, or an elbow plus an offset, means there’s at least one section your brush can’t fully contact.
- Flex duct connecting to rigid sections. Flex duct has spiral ridges that catch lint. A brush spins through the ridges but doesn’t clean them. Worse, aggressive brushing can tear the thin foil.
- Any vertical rise before a horizontal exit. This creates a lint trap at the base of the rise. You’ll push debris into the rise, it will fall back, and you’ll have a packed column you can’t reach.
If your vent has any of these features, the honest answer is this: you can’t effectively clean it with consumer-grade tools. The equipment required – rotary brush systems with integrated vacuum extraction – isn’t sold at hardware stores for a reason. It’s expensive, it requires training to use properly, and it’s sized for professional service vehicles, not garage shelves.
What Professional Equipment Actually Does Differently
The key distinction isn’t “more power” – it’s what happens to the debris once it’s loosened. A DIY brush agitates lint off the duct walls and then leaves it wherever it falls. In a straight vent, most of it drifts toward the exterior cap where you can pull it out. In anything more complex, it settles back into the duct.
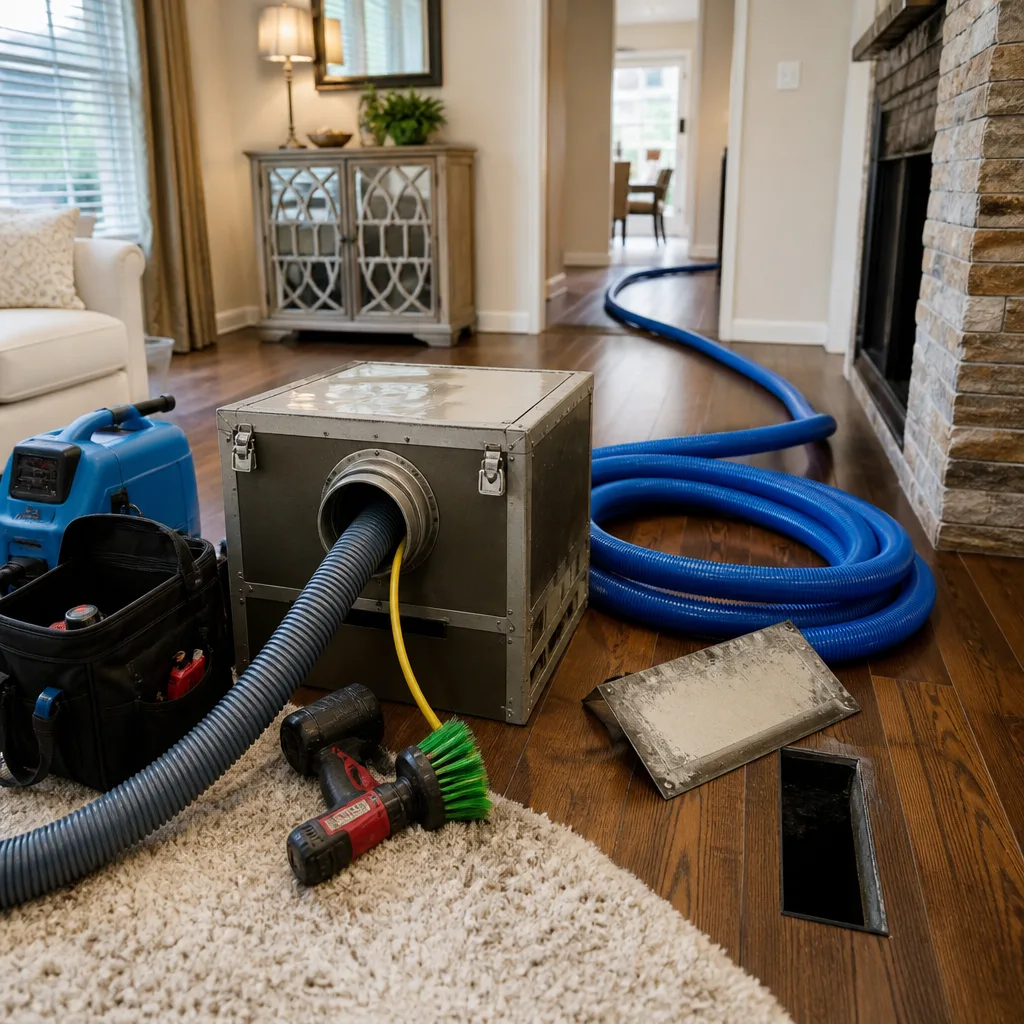
Professional dryer vent cleaning uses negative-pressure extraction. That’s the trade term for pulling air backward through the vent at high volume while the cleaning head works. The setup looks like this: a HEPA-rated vacuum unit (we run Nikro systems) connects to the vent from one end, creating a continuous pull of air. On the other end, a rotating brush head spins through the duct, breaking lint free from the walls. The vacuum airflow carries that loosened debris out of the duct and into a collection chamber – not back into your laundry room, not compressed into a corner.
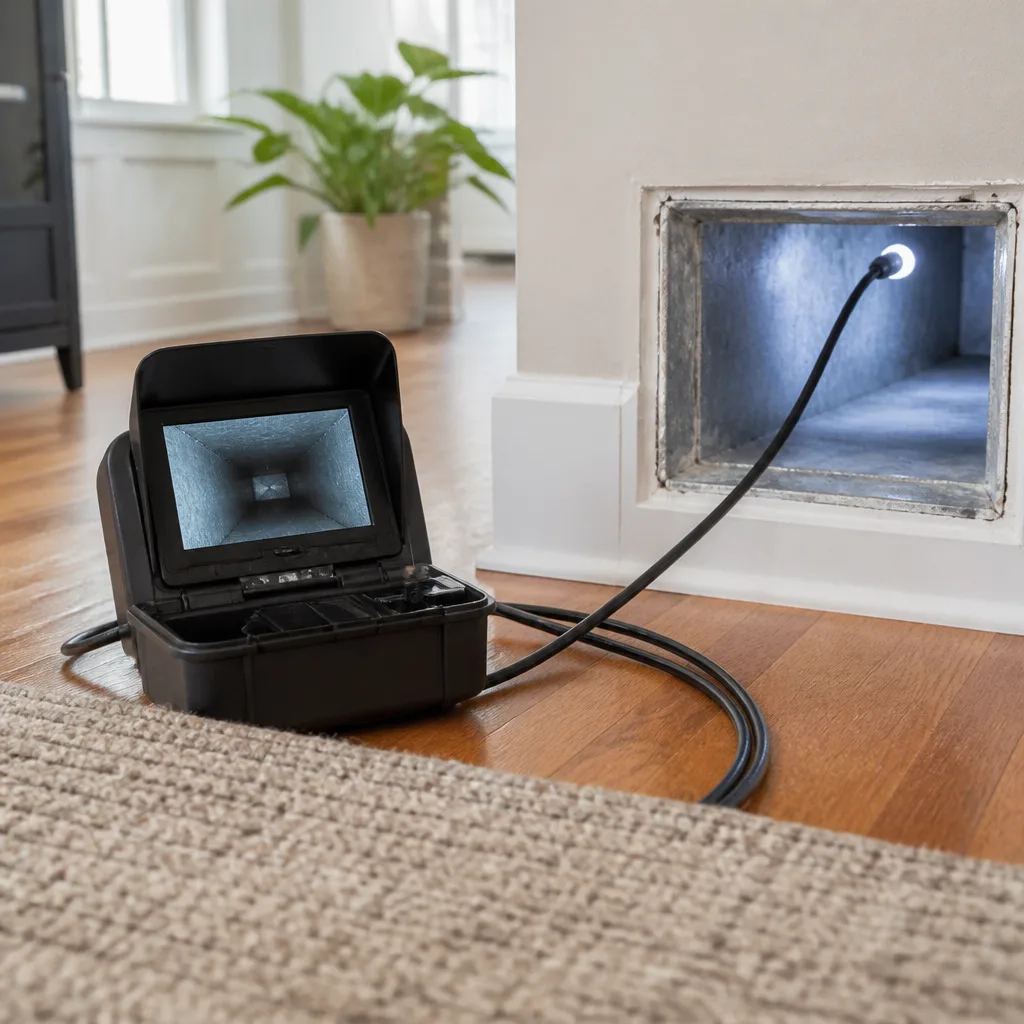
What that means in practice: the debris is removed, not just relocated. When we finish a cleaning and run our inspection camera through the vent, the duct walls are visibly bare from the dryer connection all the way to the exterior cap. That’s the standard a brush kit can’t reach on anything but the simplest geometry.
On multi-family buildings and long commercial runs, we also use Abatement Technologies containment units to isolate the vent during cleaning – that’s a fan-powered filtration unit that prevents any loosened dust from escaping into surrounding spaces. For homes, the Nikro HEPA vacuum plus the rotary brush is the core setup.
Step-by-Step: Cleaning a Short Straight Vent Yourself
If your vent meets all four safe-DIY conditions from earlier, here’s the proper sequence. Do this in order, and don’t skip the airflow test at the end – that’s the only way to confirm you actually cleaned something.
- Unplug the dryer and pull it away from the wall. Locate the vent connection at the back of the dryer and loosen the clamp holding the vent to the exhaust port. Detach the duct.
- Inspect the duct visually. Shine a flashlight down the length. You should see daylight at the exterior cap if it’s truly straight. If you can’t see light, you have an offset or bend you didn’t know about – stop and reassess whether this is still a safe DIY job.
- Clean from the exterior cap first. Go outside, remove the cap or open the louvers, and use your brush kit from the exterior side. Push the brush in, pull it back, and remove the lint that comes with it. Work slowly. Repeat until the brush comes back mostly clean.
- Clean from the interior side next. Back inside, run the brush from the dryer connection toward the exterior. This pushes any remaining debris the rest of the way out. Go gently – you’re not scrubbing, you’re dislodging.
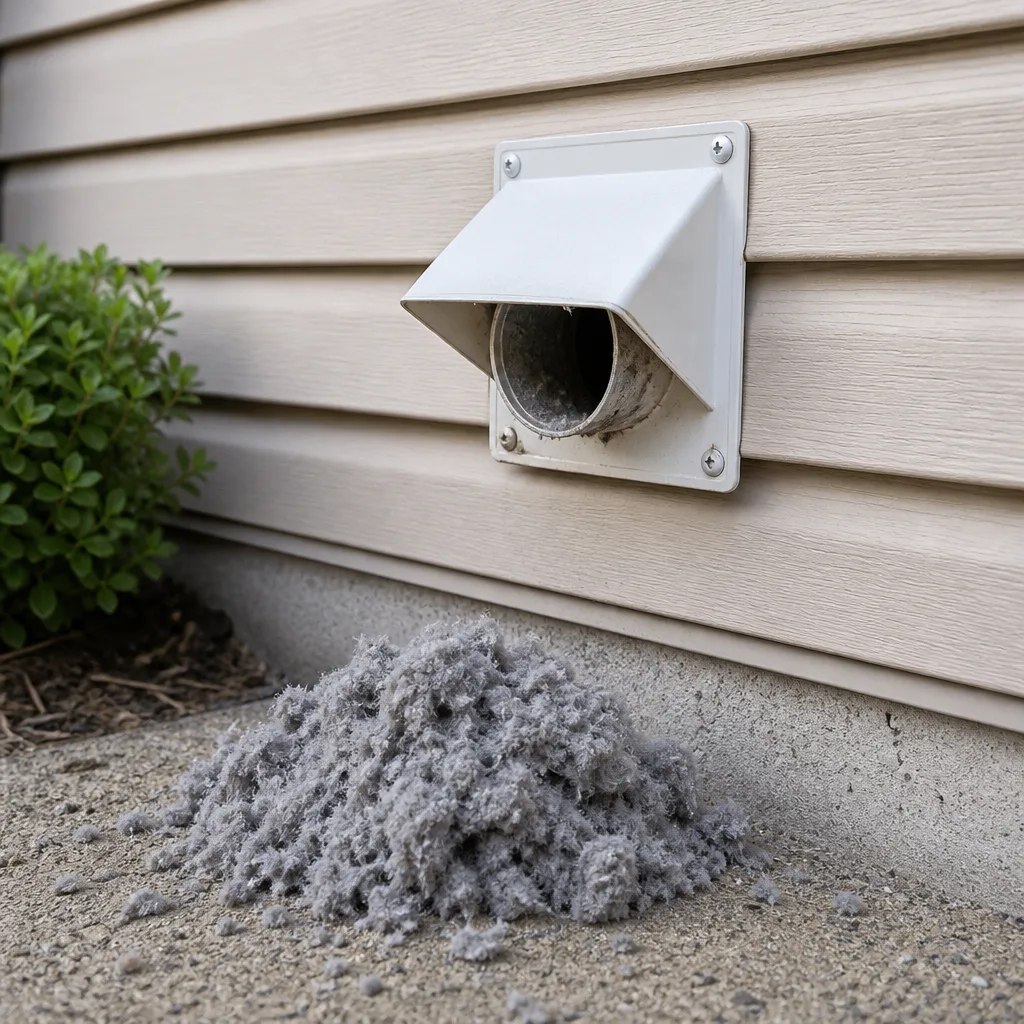
- Clean the exterior cap thoroughly. Lint gets caught in the louvers or the screen. If your cap has a screen (many do), remove it and clean it separately. A clogged screen restricts airflow even if the duct itself is clean.
- Reconnect the duct. Slide the vent back over the dryer’s exhaust port, tighten the clamp, and verify the connection is secure. A loose connection leaks humid air into your laundry room.
- Run the airflow test. Push the dryer back into position, plug it in, and run it on air-dry with no heat for 5 minutes. Go outside and put your hand at the exterior cap. You should feel strong, steady airflow. If the airflow is weak or you don’t feel anything, the vent is still partially blocked – you haven’t finished the job.
After a successful DIY cleaning on a short straight vent, you’ll typically remove a few quarts of lint – less than you’d expect because short direct runs don’t accumulate much. If you’re pulling out gallon after gallon, your vent isn’t as simple as you thought, or it’s been years since the last cleaning.
The Honest Cost Comparison: DIY vs Professional
Let’s put real numbers on the table. A decent dryer vent brush kit with enough rod extensions to reach 8 feet runs $25 to $45 at a Los Angeles hardware store. Add an hour or two of your time, plus the annoyance of pulling out the dryer and accessing the exterior cap. That’s the full DIY cost for a safe short-run cleaning.
Professional dryer vent cleaning in Los Angeles for a standard single-family home typically runs $120 to $190 at Cardinal Air Duct Cleaning, depending on run length and access. You get a written price before any work starts, the cleaning itself, and a before-and-after camera inspection showing you the vent interior. That last part matters: you see the duct walls, you see the debris removed, and you have photo evidence of what was actually cleaned.
The hidden cost of DIY on a complex vent is the failed attempt: you spend the $35 on the kit, spend the afternoon, and the vent is still blocked. The dryer still takes two cycles. Your energy bill stays elevated. Lint still accumulates at the compression point. Eventually, you call a professional anyway – and now you’ve paid for the DIY kit plus the cleaning you should have booked initially.
If your vent fits the safe-DIY criteria, do it yourself. The cost math honestly favors you. If it doesn’t fit – if there’s a 90-degree elbow or a roof cap or a run longer than your arm – the cost comparison is already settled, because the DIY option won’t work at all.
Los Angeles Factors: Why Vent Runs Here Are Different
Homes across Los Angeles were built across a hundred-year span, and the construction era tells you a lot about your dryer vent before you ever pull out the dryer. A 1920s bungalow in Highland Park might have a laundry closet added decades after original construction, with the vent snaking through a crawl space to reach a side wall. A 1970s condo in Mid-Wilshire likely shares a common vent stack with neighbors. A 2010s build in Playa Vista may have an energy-efficient laundry room with a vent run that looks short from inside but actually travels up and over a joist bay before exiting.
Two Los Angeles-specific points worth knowing:
- Rooftop terminations are disproportionately common here. In flat-roofed mid-century moderns and many two-story homes, the dryer vent exits through the roof rather than a side wall. A rooftop vent is never a safe DIY job – the combination of vertical rise, gravity pulling lint backward, and the need for roof access rules it out completely.
- Our dry climate makes lint more brittle, not less dangerous. Low humidity dries lint out until it’s crusty and tightly compressed. It adheres to duct walls differently than the fluffy lint common in humid climates – it pulls away in layers rather than in tufts. A brush can actually polish the surface without removing the full thickness. That’s another reason to run the airflow test after any cleaning.
If you’re a renter in Los Angeles, another variable applies: many landlords don’t schedule dryer vent cleaning proactively, and the vent may not have been touched since the building went up. Ask your property manager when the vent was last serviced. If they can’t tell you, assume it hasn’t been done recently – and know that lint clogs in shared-building vents don’t stay in the unit where they formed.
Common Mistakes to Avoid
- Using a leaf blower to clear the vent. This one shows up on YouTube. A leaf blower creates pressure that can blow apart a poorly connected duct joint inside a wall or attic. You won’t know you’ve separated the duct until lint starts accumulating inside the wall cavity. Hard no.
- Running a brush from the interior side only. On a straight vent, you’ll push everything to the exterior cap and create a dense plug right at the louver. Always work from the exterior side first, then finish from the interior.
- Using a drill-attached brush on flex duct. The spinning bristles tear through foil flex like tissue paper. If you have flex sections, that vent is professional territory anyway – but a drill brush on it makes things worse, not better.
- Skipping the airflow test. A vent can look clean and still be blocked at an elbow you can’t see. If you don’t verify airflow at the exterior cap afterward, you haven’t confirmed anything.
- Removing a rooftop cap from a ladder. Never attempt roof work for dryer vent cleaning. Rooftop terminations require roof access equipment and training. This is one of the clearest “call a professional” scenarios.
- Ignoring the exterior cap itself. The cap is where outdoor lint, dust, and sometimes pest nests collect. A clean duct with a clogged cap is still a blocked vent. In Los Angeles, dryer vents are also a common entry point for rodents – inspect the cap for signs of nesting material or chew marks.
- Assuming one cleaning lasts indefinitely. Vents accumulate lint at the same rate regardless of how well they’re cleaned today. A single cleaning is not a permanent solution. The only thing that changes is whether you’ve established a realistic schedule for the next one.
When to Call a Professional
You should skip the DIY attempt and schedule a professional cleaning if your dryer vent has any of these features: rooftop termination, more than one elbow, a run over 15 feet, flex duct sections, or a vertical rise before the exit. You should also call instead of DIY if you can’t see the full duct path, if the exterior cap is inaccessible from ground level, or if you’ve already attempted a cleaning and the airflow test still shows weak flow.
Cardinal Air Duct Cleaning offers free estimates in Los Angeles – call (737) 727-2314. We inspect the full vent with a camera, show you what’s inside, and give you a written price before any work starts. If the vent is genuinely simple, we’ll tell you that too – and you can decide whether to handle it yourself the next time.
Frequently Asked Questions
Professional dryer vent cleaning in Los Angeles typically runs $120 to $190 for a standard single-family home, with pricing determined by vent run length, access difficulty, and termination type. Call (737) 727-2314 for an exact quote – we give a written price before any work starts and it doesn’t change at the door.
Drying time longer than one full cycle for a normal load is the most reliable sign, but other indicators include a burning smell during operation, a dryer that feels hot to the touch on the exterior, lint accumulating around the exterior cap, or visible lint at the dryer’s exhaust connection.
No. Rooftop vent terminations require roof access equipment, ladder safety protocols, and specialized cleaning methods because gravity pulls dislodged lint backward into the vertical rise. This is one configuration where DIY is never appropriate.
For a typical Los Angeles household of two to four people doing two or three dryer loads per week, once a year is the right schedule. Households with pets, high volume laundry, or longer-than-average vent runs should clean every six to eight months.
Lower quotes often come from companies doing a quick reversal of airflow rather than a full mechanical brushing. The vent needs the simultaneous agitation and extraction of a rotary brush system – not just a vacuum pull. A cheap cleaning that misses compacted lint at the elbows leaves the blockage exactly where it was. Ask any company you’re considering whether they run a brush head through the full length or just vacuum from one end.
Yes. A blocked vent makes your dryer run longer to remove moisture, which means more electricity or gas per load. A properly cleaned vent allows full airflow, which restores the dryer’s design efficiency and shortens dry times. In dry Los Angeles air, many homeowners notice the difference after one load.
The Bottom Line
Dryer vent cleaning splits cleanly along one line: the geometry of your vent. A short, straight, accessible side-wall run with no elbows and rigid duct? That’s a legitimate DIY job, and the cost math favors doing it yourself. Anything with bends, verticals, rooftop access, flex sections, or runs longer than you can see? That’s professional territory, where rotary brush systems with negative-pressure extraction actually remove lint instead of relocating it. In Los Angeles, with our mix of century-old bungalows, mid-century flat roofs, and condo stacks, most vents are in the second category. The honest first step is checking what you actually have before you buy a brush kit; see our more guides & resources for help.
Not sure what you’re working with? Cardinal Air Duct Cleaning offers free dryer vent inspections in Los Angeles. Call (737) 727-2314 and we’ll run a camera through your vent, show you the condition, and give you a written price if it needs professional attention. No pressure, no upsell – just an honest look at what’s inside your walls.
Written by Omar Haddad, Owner at Cardinal Air Duct Cleaning, serving Los Angeles since 2005.